BONE BROTH
it's been thrown around as a "SUPER FOOD", but it's nothing new. really, it's just homemade broth like my grandmother made. she would often forget the bones simmering away on the stove. little did she know she was extracting all the healthy nutrients found in those bones...
good broth can be made in a few hours,
but...this COOKS FOR 2 DAYS !
it's worth it.
the health benefits?...there are plenty. i won't list them all. there is plenty of information out there...
i am not a nutritionist, but i DO know this is just good ol' school
GOOD-FOR-YOU FOOD !
IMPORTANT NOTE... since this post i have found some great info on the subject that changed my broth method... Most importantly to add the vegetables in the last few hours to avoid a possible "burnt" flavor.
Please read Stupid Easy Paleo. "Bone Broth 101". Ryan Harvey, from "Bare Bones Broth Co.", is the guest post-er with a wealth of information... also, be sure to read the comments.

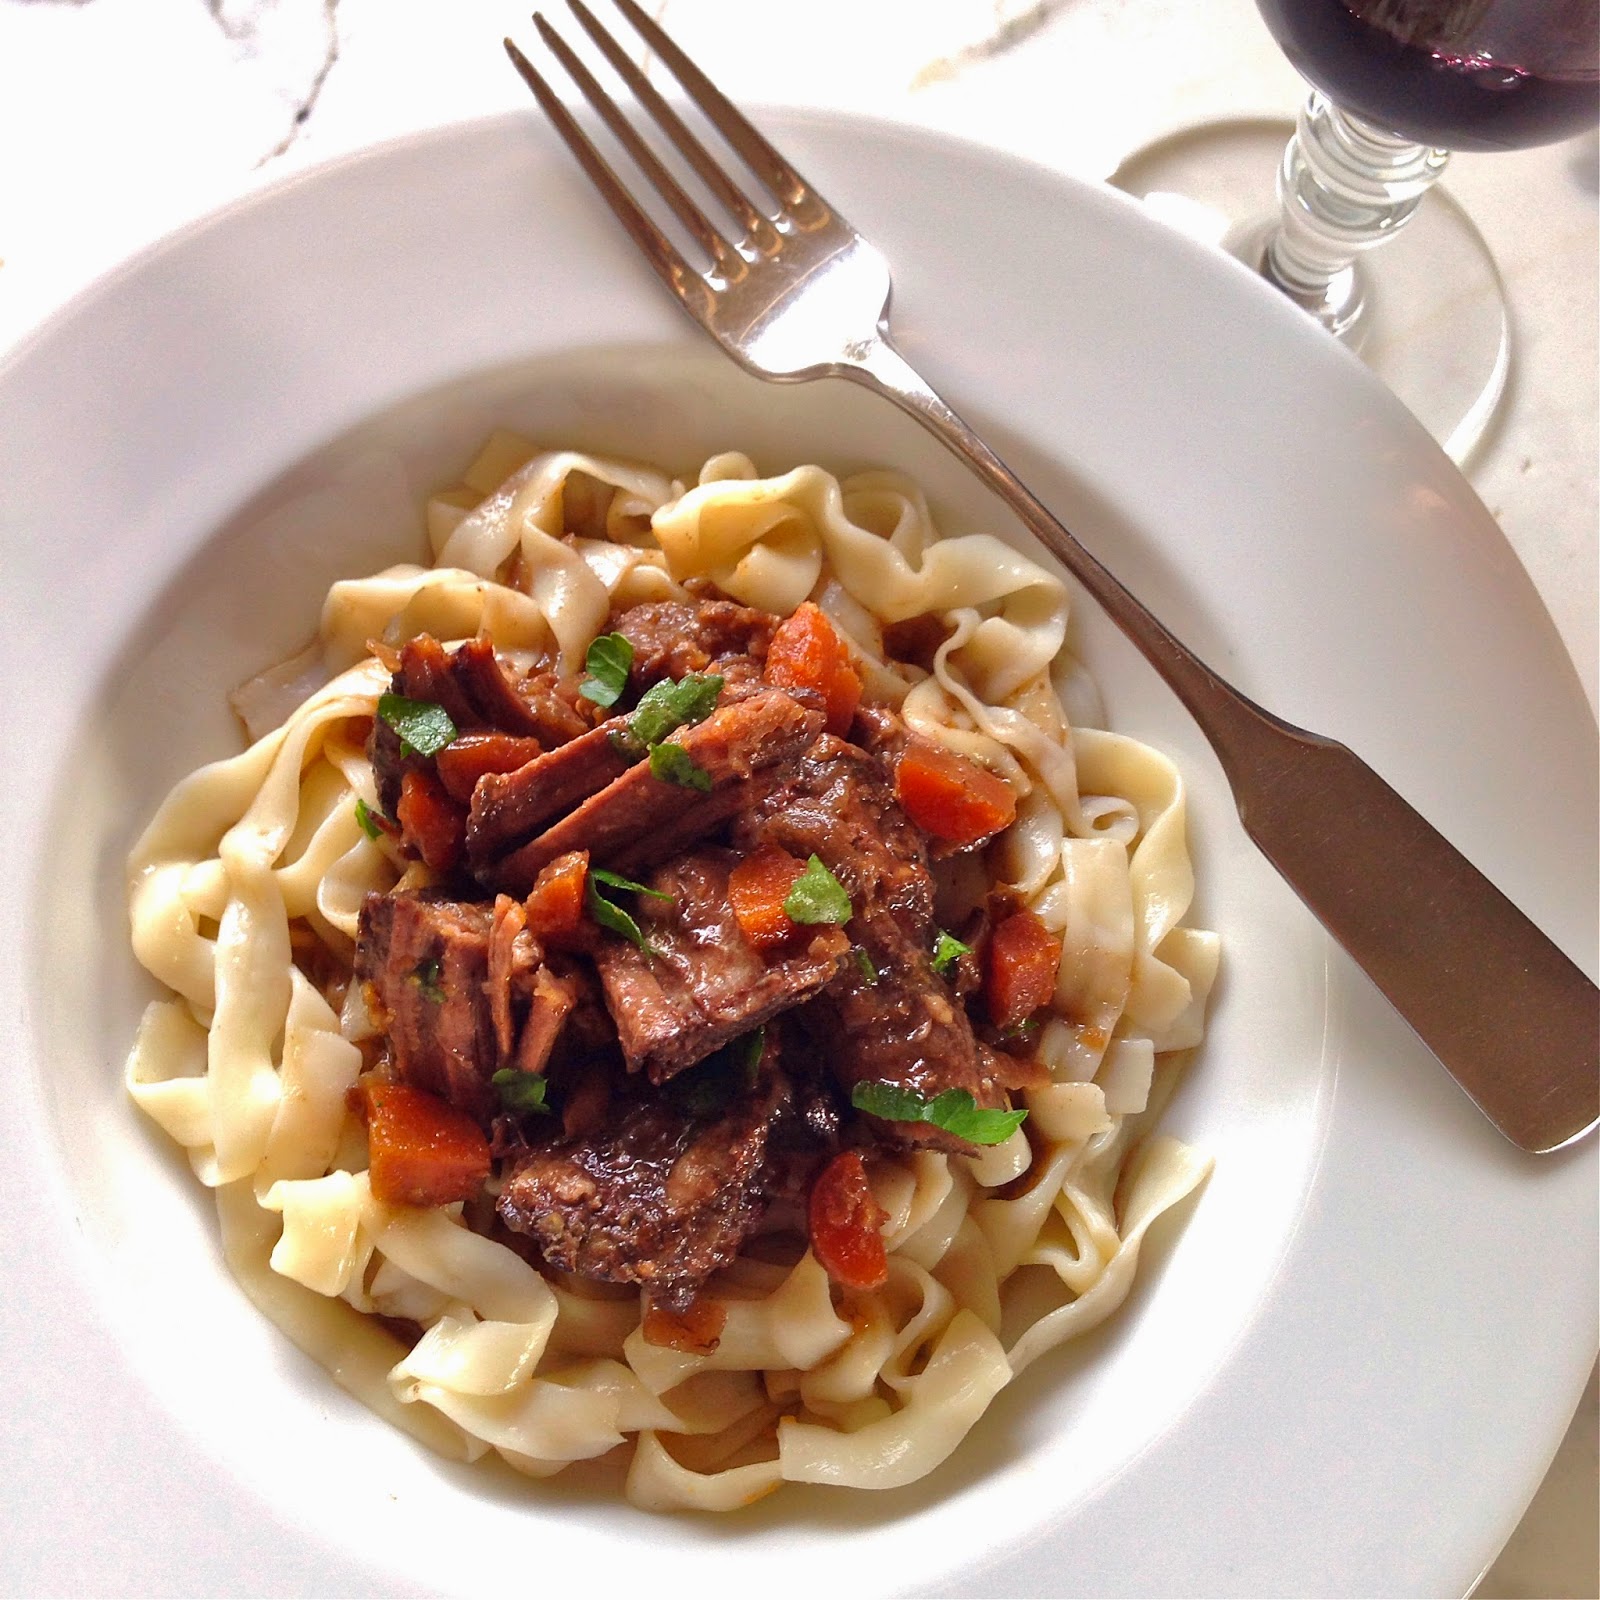
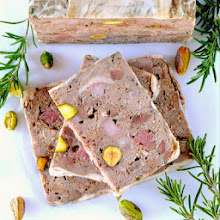
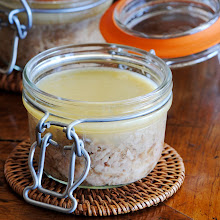
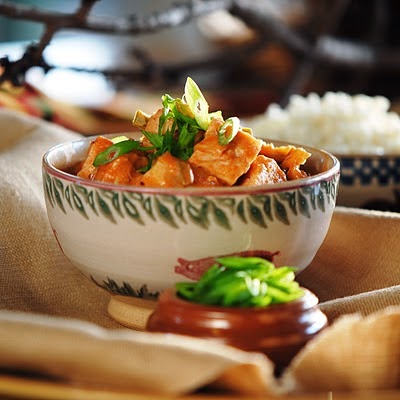
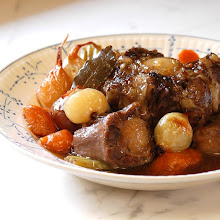
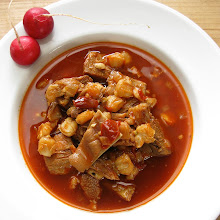
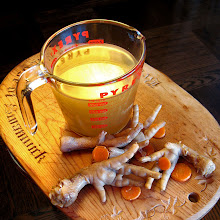
the finished product should be like beef "umami"broth. no distinct flavor, just delicate, viscous, smooth, unassuming and dee-licious. fabulous on it's own OR...use as a blank canvas.
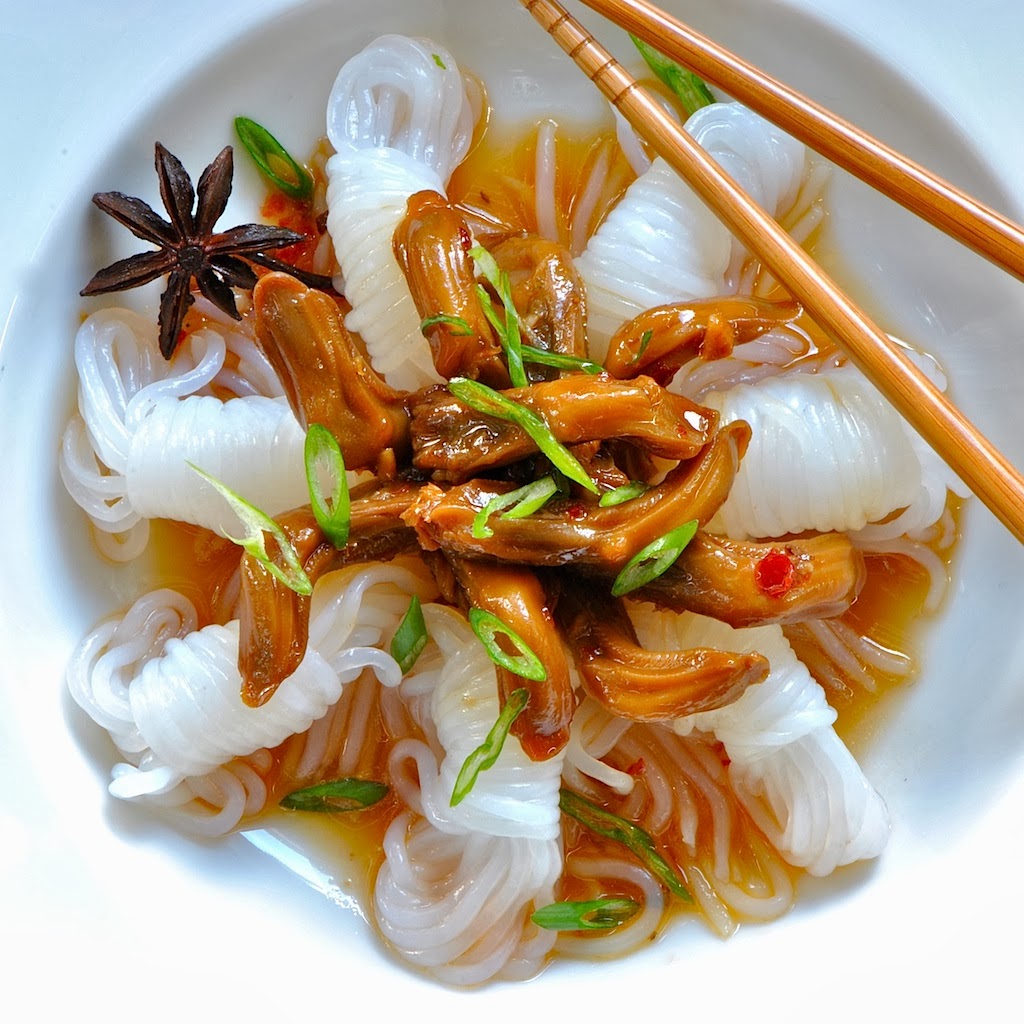
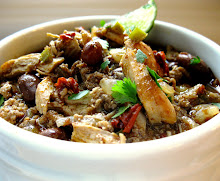
flavor as you see fit. i chose to freeze half, unseasoned. and throw some demi glace and tarragon in the other half. i also used some for a "faux-BONE-PHO"...flavoring with star anise, clove, ginger, cinnamon etc...

FYI...grandma didn't have to worry about "organic" and "pasture-raised", but YOU DO!
i did the best i could.
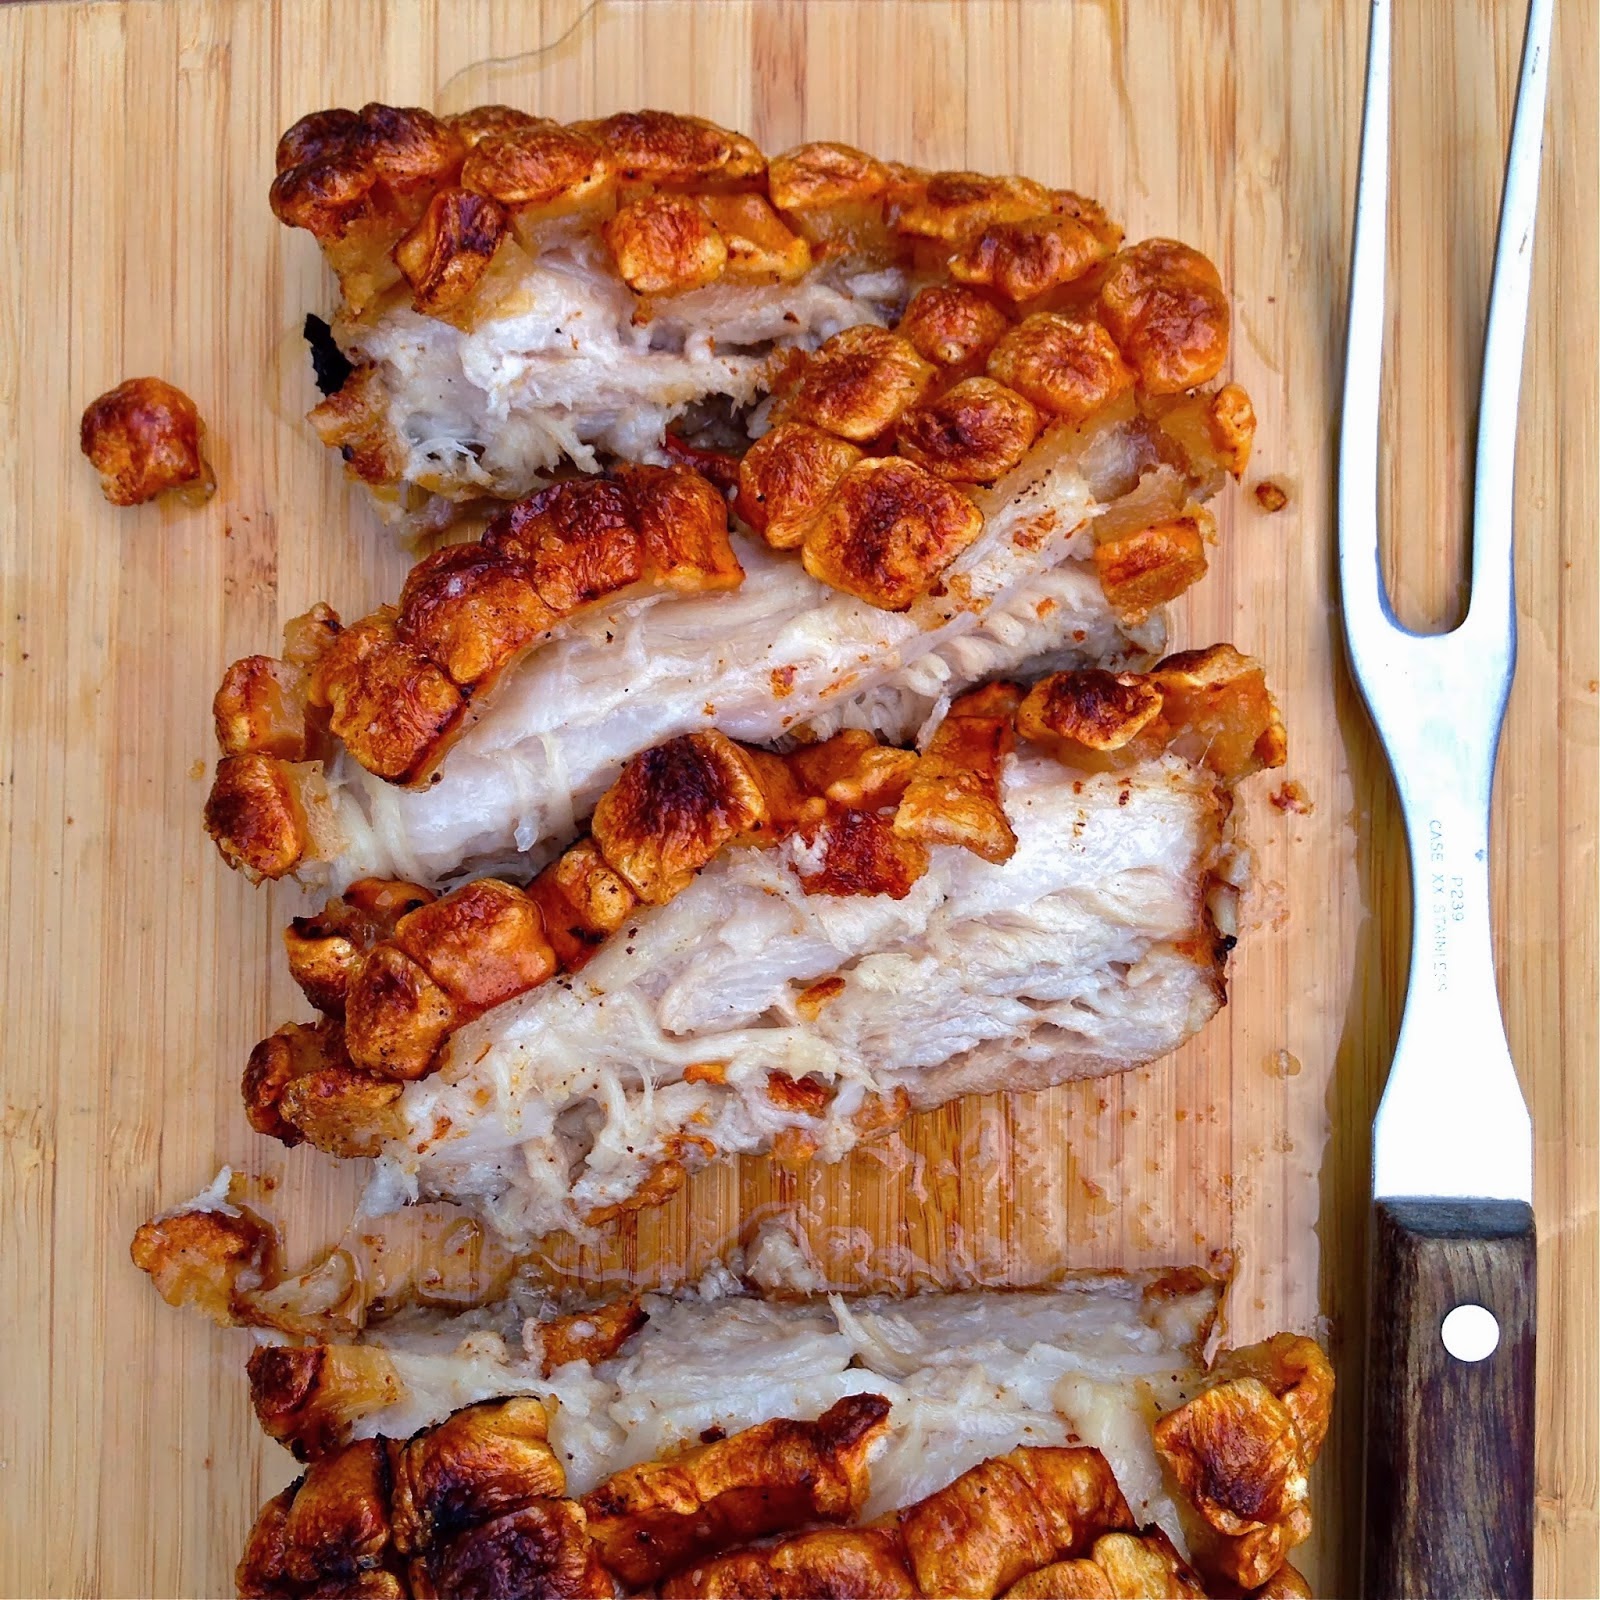
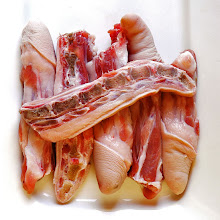
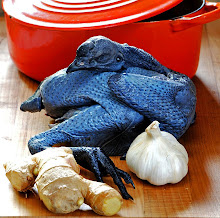
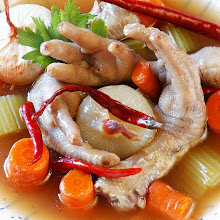
choose organic, hormone free, natural raised beef and chicken parts. chicken feet and necks are a must. they give great viscosity to the broth.

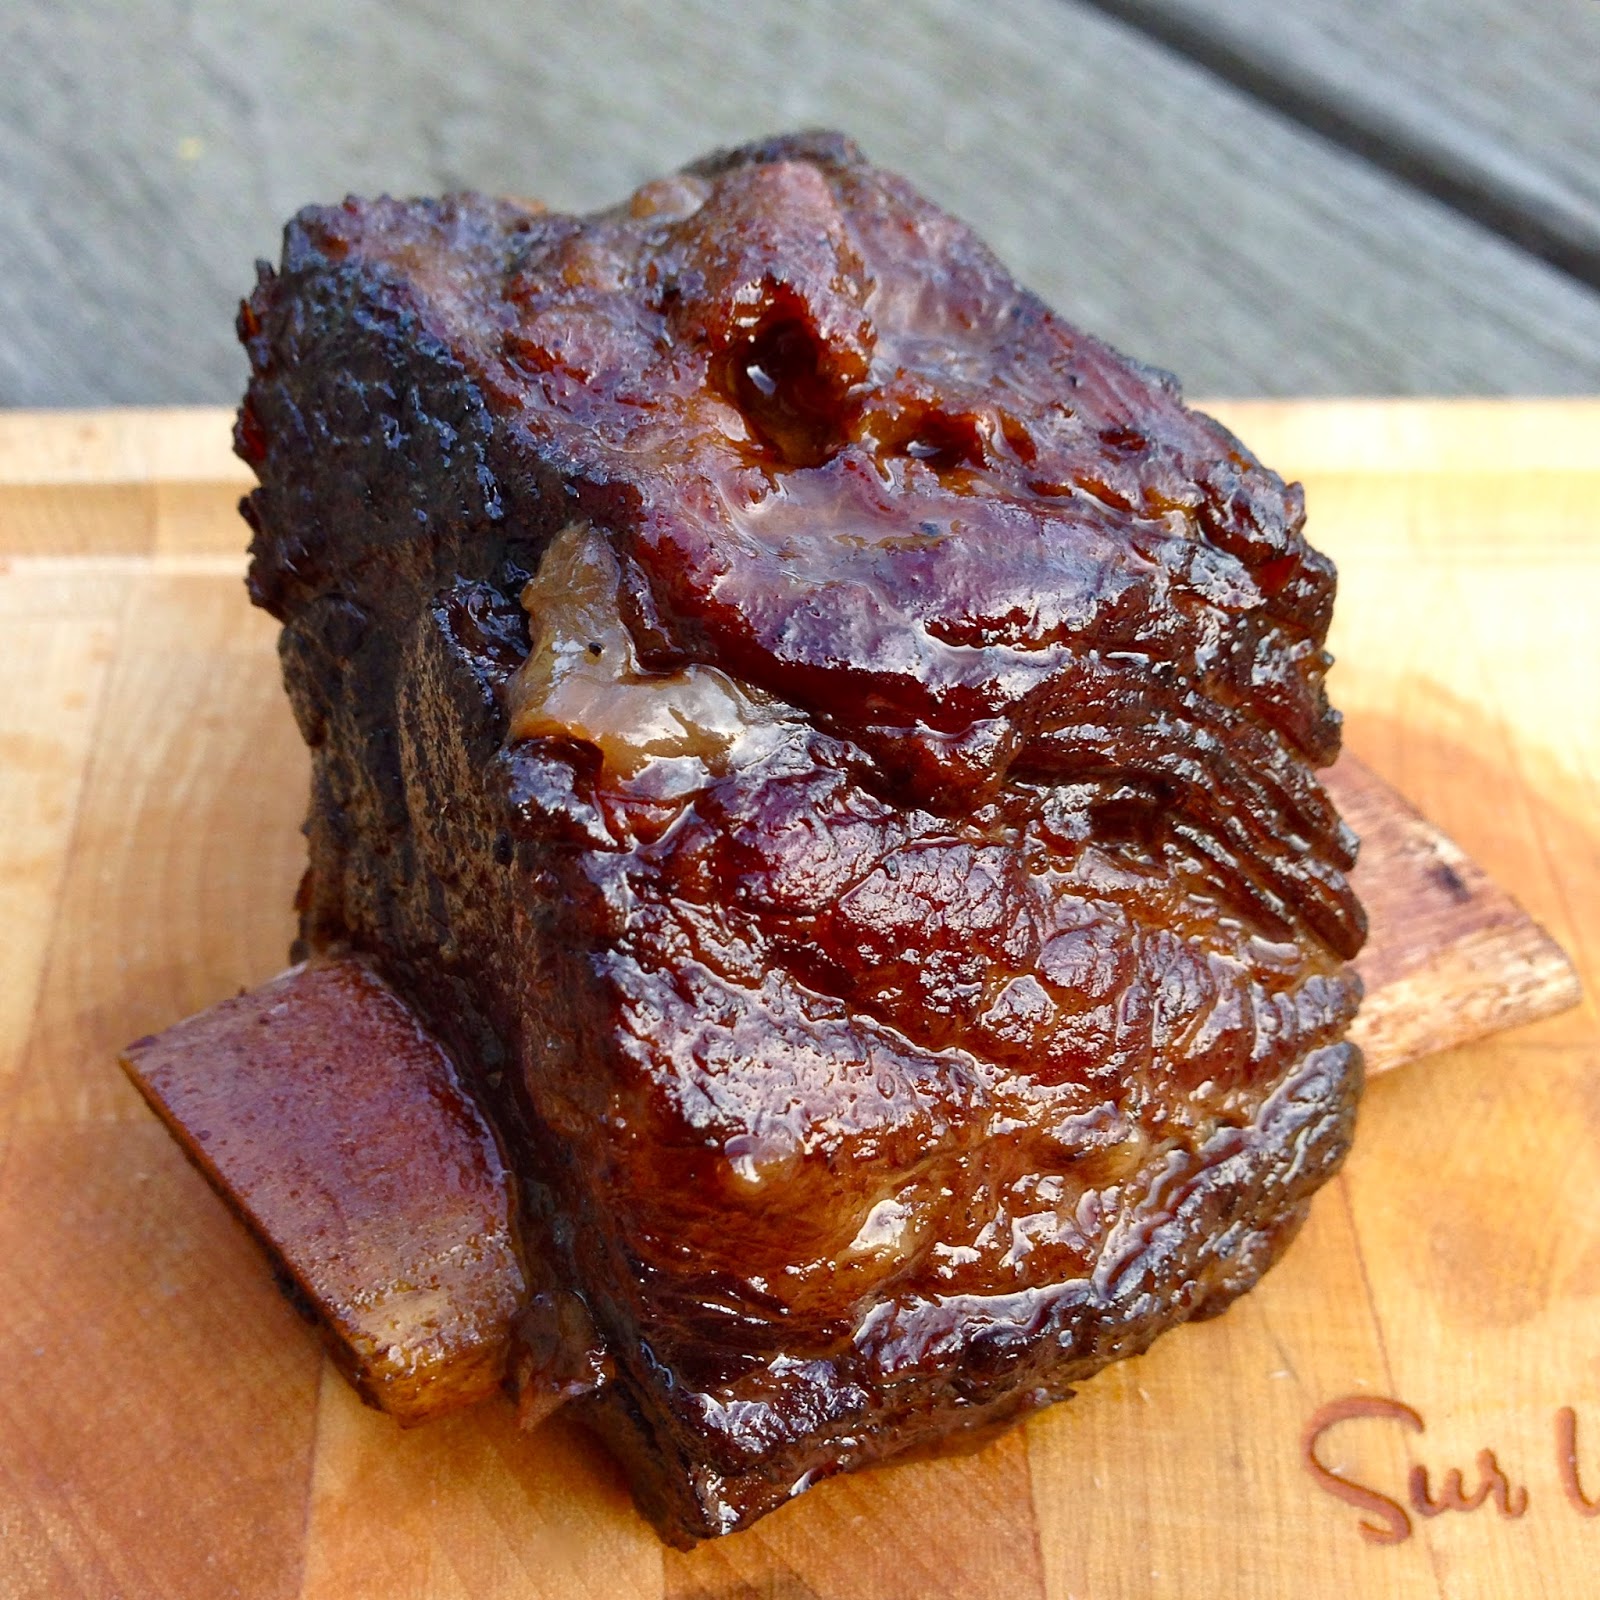
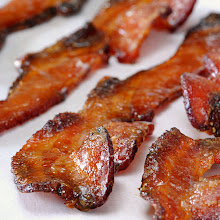
OXTAILS...good choice, i love 'em.
i removed the meat when it was good and tender to eat, then threw the bones back in.

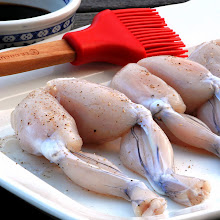
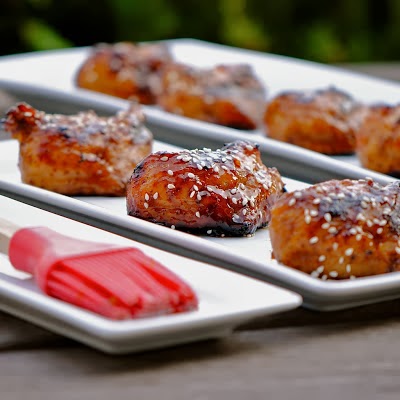
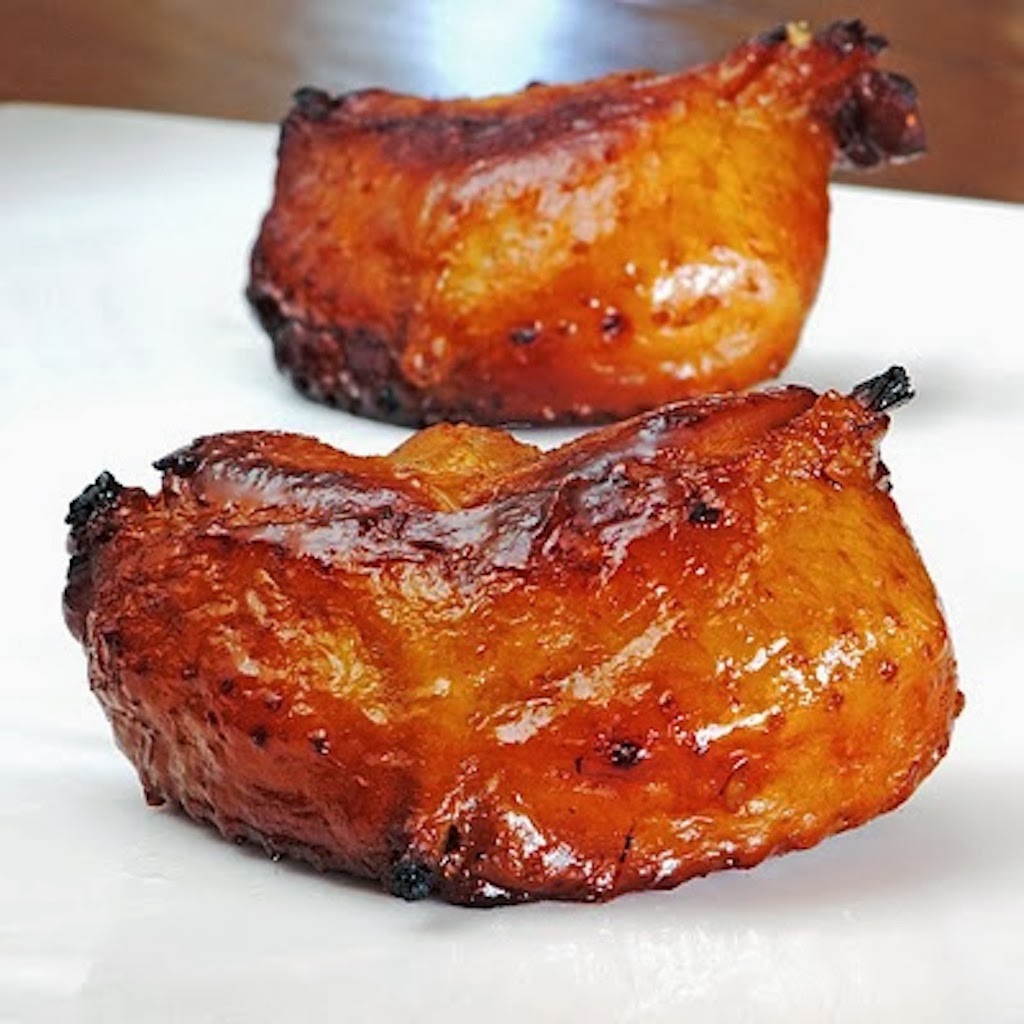
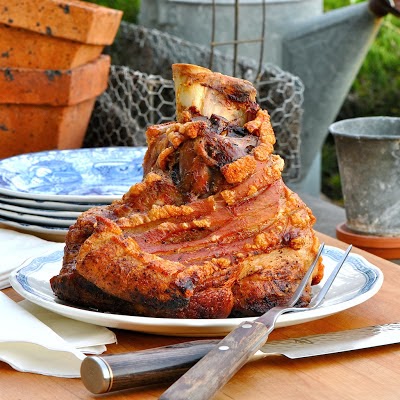
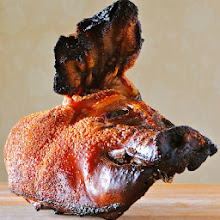
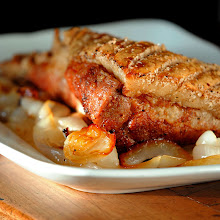
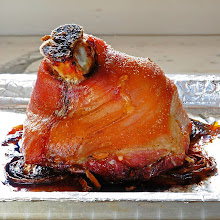
put all your meats and bones into a big roasting pan. i drizzled a little organic olive oil over everything. 380-390 F. probably will take about an hour to get good and brown. give them a check and turn things over half way through.

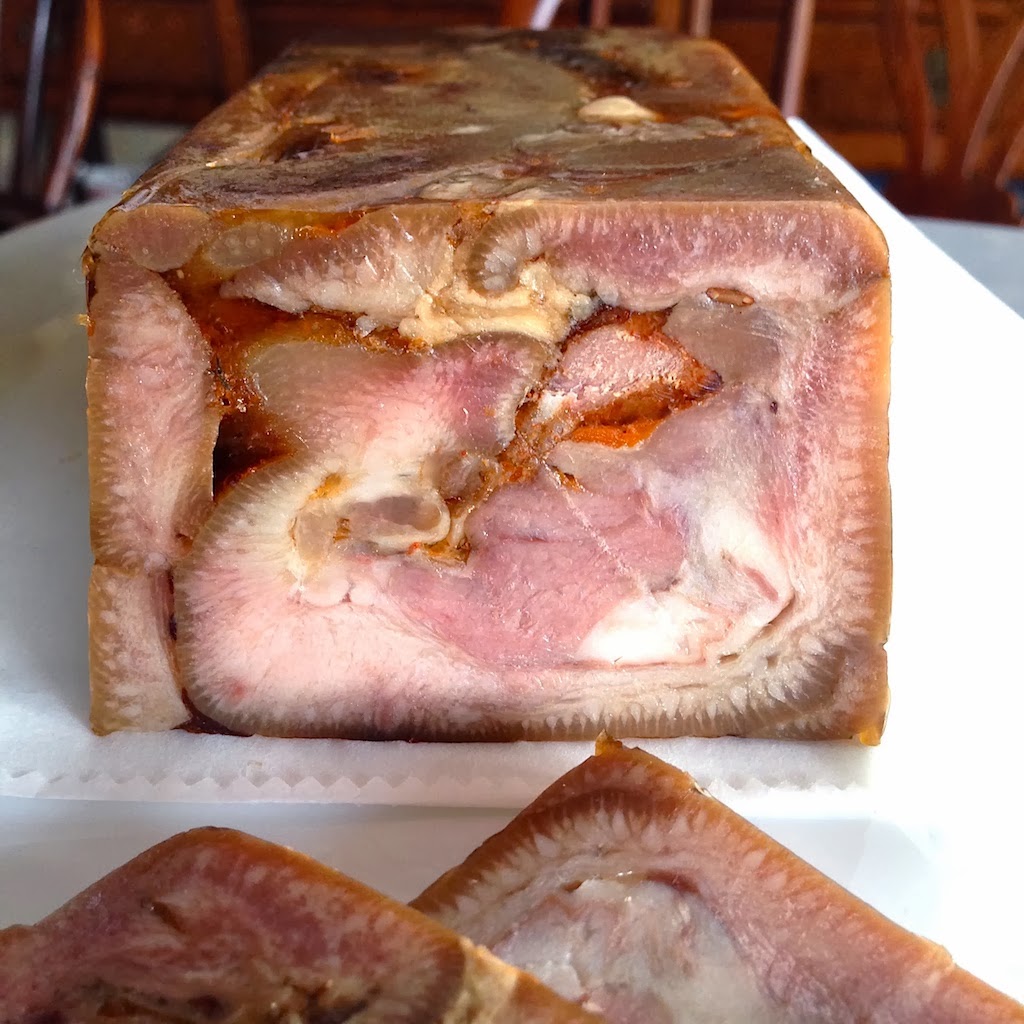
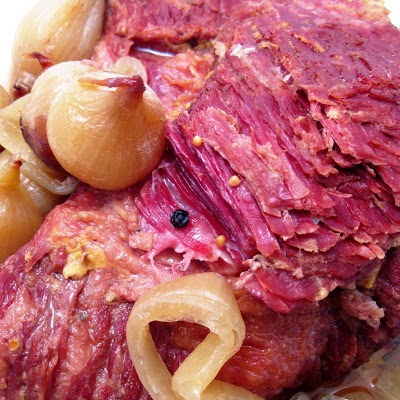
MEATS AND BONES
use all beef with some chicken parts (feet, necks and backs)
i can not tell you how many pounds of each or the total amount here, but the visual is photo above.
brown everything in 390 F oven for about an hour...check on them and give them a turn or two.
when finished put into large stock pot
BUT WAIT !...don't forget to deglaze the roasting pan. you don't want to miss out on all that caramelized goodness
ADD FILTER WATER TO THE STOCK POT TO COVER BONES
AND... add a few Tablespoons of apple cider vinegar
bring to a boil, then turn down to a very low simmer.
24-48 hours. mine was about 40 hours.
NOTE...i turned mine off during the night and left the lid slightly ajar. when i woke up, it was still VERY warm. then bring it back to a boil and down to a simmer again.
NOTE...i am NOT the food safety police. you do what you feel comfortable with.
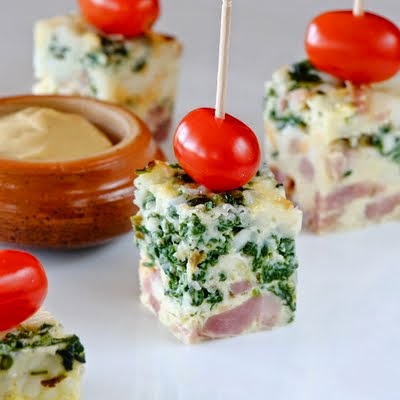
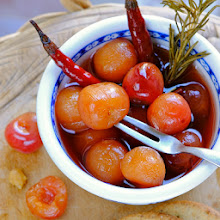
Vegetables/herbs go in the last 4-6 hours

strain liquid into another big pot.
don't toss the bones just yet.
you should to do a "BONE WASH".
there is still good stuff in there. add a little (few cups at first) to the bones and left-overs. swirl the water around to wash the bones. now, strain this liquid into the pot with the broth. don't worry if it looks or tastes watery, you can reduce for extra flavor.
 i used cheese cloth for the 3rd and 4th straining, but a regular strainer or colander is best for the first strain and bone-wash strain.
i poured broth into tall soup containers so it would cool faster.
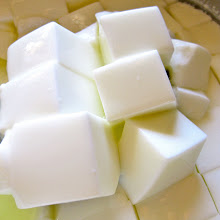
let come to room temp so the fat will separate.
now put in the fridge for a few hours or over night so the fat cap will get solid for easy removal.
throw it in the freezer if not using within the week.
but...if you are ready to consume remove fat cap
(save fat cap for cooking. great flavor and full of nutrients)
put all gelatinous yummy broth into a pot and reheat to a boil.
simmer for a while if you need to reduce.
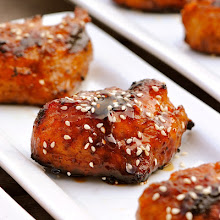
NOW IS THE TIME TO SEASON
always season the finished product
i like to enjoy a cup a day so i might season each serving a little different...
salt, pepper, "flavorgod everything"
tarragon is a favorite
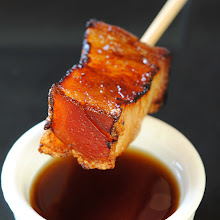
try soy and star anise
or a sprig of rosemary
maybe garlic blend and pinch of chipotle....
CHEERS... "A CUP A DAY KEEPS THE DR. AWAY"
ADD FILTER WATER TO THE STOCK POT TO COVER BONES
AND... add a few Tablespoons of apple cider vinegar
bring to a boil, then turn down to a very low simmer.
24-48 hours. mine was about 40 hours.
NOTE...i turned mine off during the night and left the lid slightly ajar. when i woke up, it was still VERY warm. then bring it back to a boil and down to a simmer again.
NOTE...i am NOT the food safety police. you do what you feel comfortable with.
Vegetables/herbs go in the last 4-6 hours
2 carrots
2 celery stalks
1 large onion
5-6 smashed garlic cloves
sprigs of thyme and/or other herbs of choice
5-6 smashed garlic cloves
sprigs of thyme and/or other herbs of choice
strain liquid into another big pot.
don't toss the bones just yet.
you should to do a "BONE WASH".
there is still good stuff in there. add a little (few cups at first) to the bones and left-overs. swirl the water around to wash the bones. now, strain this liquid into the pot with the broth. don't worry if it looks or tastes watery, you can reduce for extra flavor.
i poured broth into tall soup containers so it would cool faster.
let come to room temp so the fat will separate.
now put in the fridge for a few hours or over night so the fat cap will get solid for easy removal.
throw it in the freezer if not using within the week.
but...if you are ready to consume remove fat cap
(save fat cap for cooking. great flavor and full of nutrients)
put all gelatinous yummy broth into a pot and reheat to a boil.
simmer for a while if you need to reduce.
NOW IS THE TIME TO SEASON
always season the finished product
i like to enjoy a cup a day so i might season each serving a little different...
salt, pepper, "flavorgod everything"
tarragon is a favorite
try soy and star anise
or a sprig of rosemary
maybe garlic blend and pinch of chipotle....
CHEERS... "A CUP A DAY KEEPS THE DR. AWAY"